I know most people (including me), don't look forward to the start of school but hopefully some of these diys will make you a little more excited! To make your notebooks for school look a lot more fun, you will need-
Mod podge
Paint brush
Sissors
Scrapbook or printed paper with cool designs
A notebook
Painters tape
1. Tape off the spine of the notebook to prevent mod podge from getting on it.
2. Trim your paper to fit the cover of the notebook, if it's to small you could put strips of white paper at the top and bottom to make up for the extra space.
3. Apply a coat of mod podge to the cover, then put your paper on top.
4. Remove the painters tape.
5. Add stickers, chalkboard, or dry erase labels, and you're done!

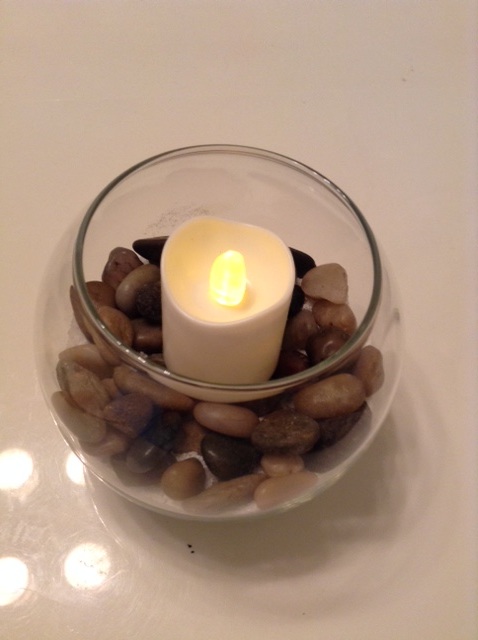
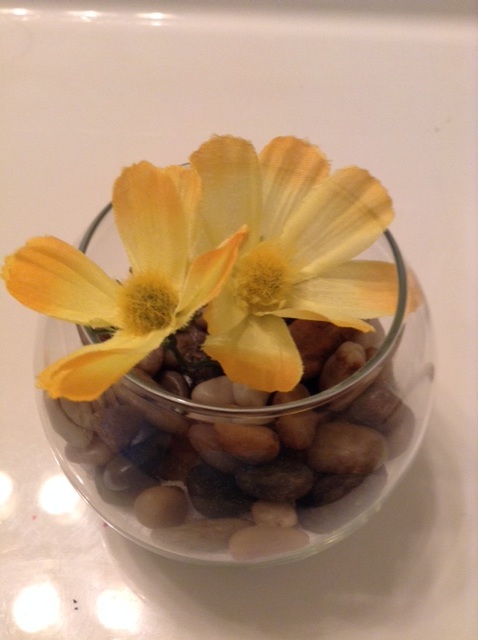
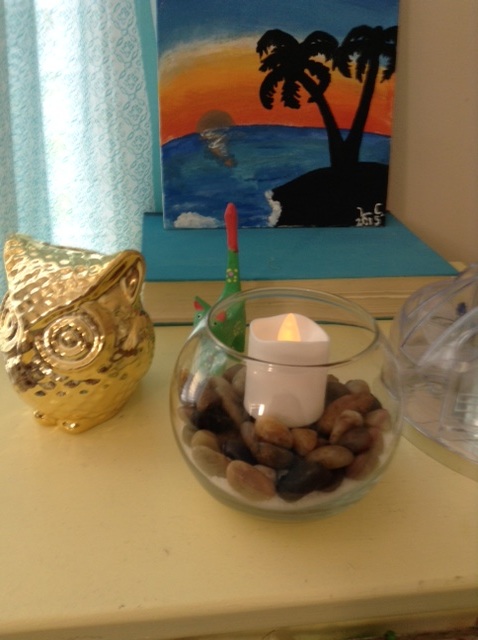
Diy room decor for relaxing in your room after school!
You will need-
Scrapbook or printed papers
Tape
Yarn
Scissors
Cup
Pencil
1. On your papers, trace around the mouth of a cup to make a circle. Do this several times.
2. Cut out the circles.
3. Cut long pieces of yarn, (mine were about 4ft 8in.)
4. Tape the circles in a pattern down the yarn. Tape the yarn to the backs of the circles where there is no pattern.
5. Make as many as you want and hang them in your room!


Diy desk organizer-
3 left over cardboard food boxes
Duct tape
Glue
Toilet paper tubes
Hot glue
Scissors
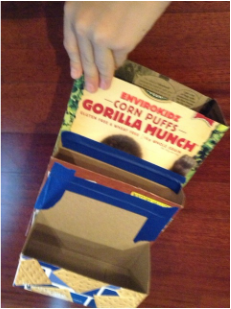
1. Trim the tops of the boxes so they are straight. The height of the boxes should decrease, and the smallest box should be the widest. You can leave part of the back of the box for gluing, (Picture below.)
3 left over cardboard food boxes
Duct tape
Glue
Toilet paper tubes
Hot glue
Scissors
1. Trim the tops of the boxes so they are straight. The height of the boxes should decrease, and the smallest box should be the widest. You can leave part of the back of the box for gluing, (Picture below.)

2. Tape and glue the boxes together, with the smallest being in the front.
3. Begin to wrap the boxes with stripes of duct tape.

4. When you finish taping it should look like this-

5. Cut some toilet paper tubes in half and hot glue them in the smallest box. They can be used to hold pencils and pens.

6. You're done!
I hope these diys can help you make the school year a little bit easier, check back for more diys soon!
I hope these diys can help you make the school year a little bit easier, check back for more diys soon!


 RSS Feed
